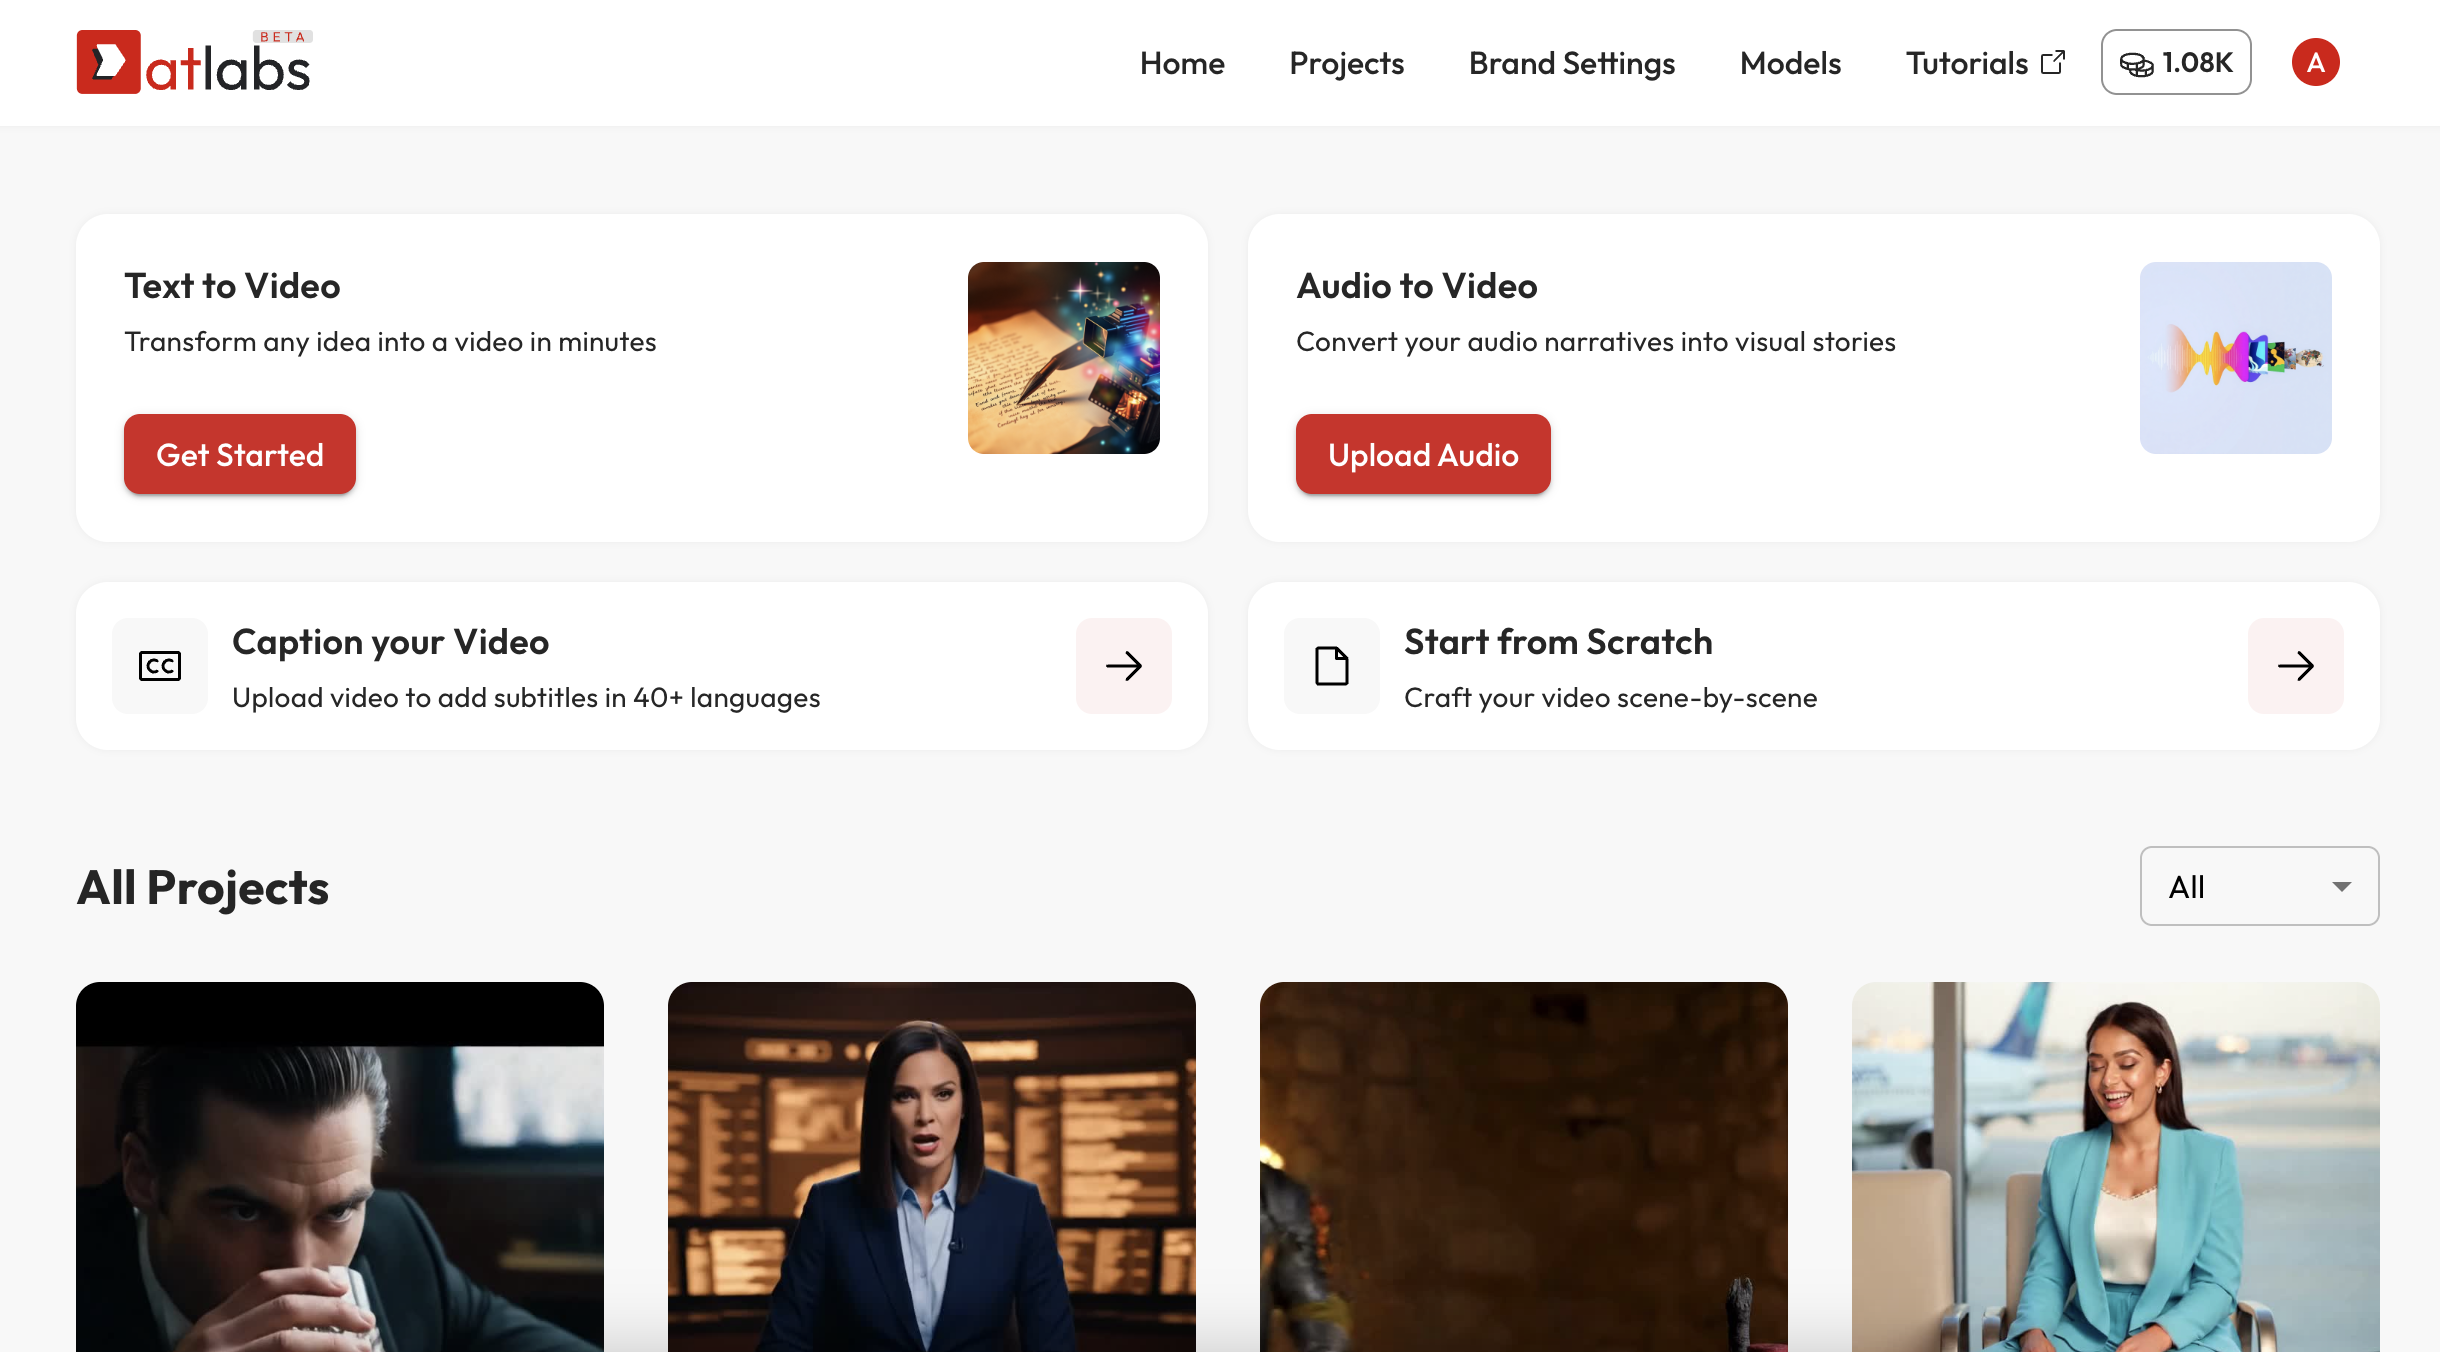
Step 1: Start a New Project
Go to the Home page and select a starting point “Text to Video” or “Audio to Video”. You’ll be taken to the storyboard wizard.Step 2: Script & Style Wizard Flow
1. Script
- Use the “Generate Script with AI” feature, or upload your own script / screenplay.
- Choose tone and video length.
2. Set Style
- Pick from platform styles or apply a trained AI Style model for consistent visual identity.
3. Finalise Cast
- Choose your characters. You can use platform AI avatars or your own trained AI actor.
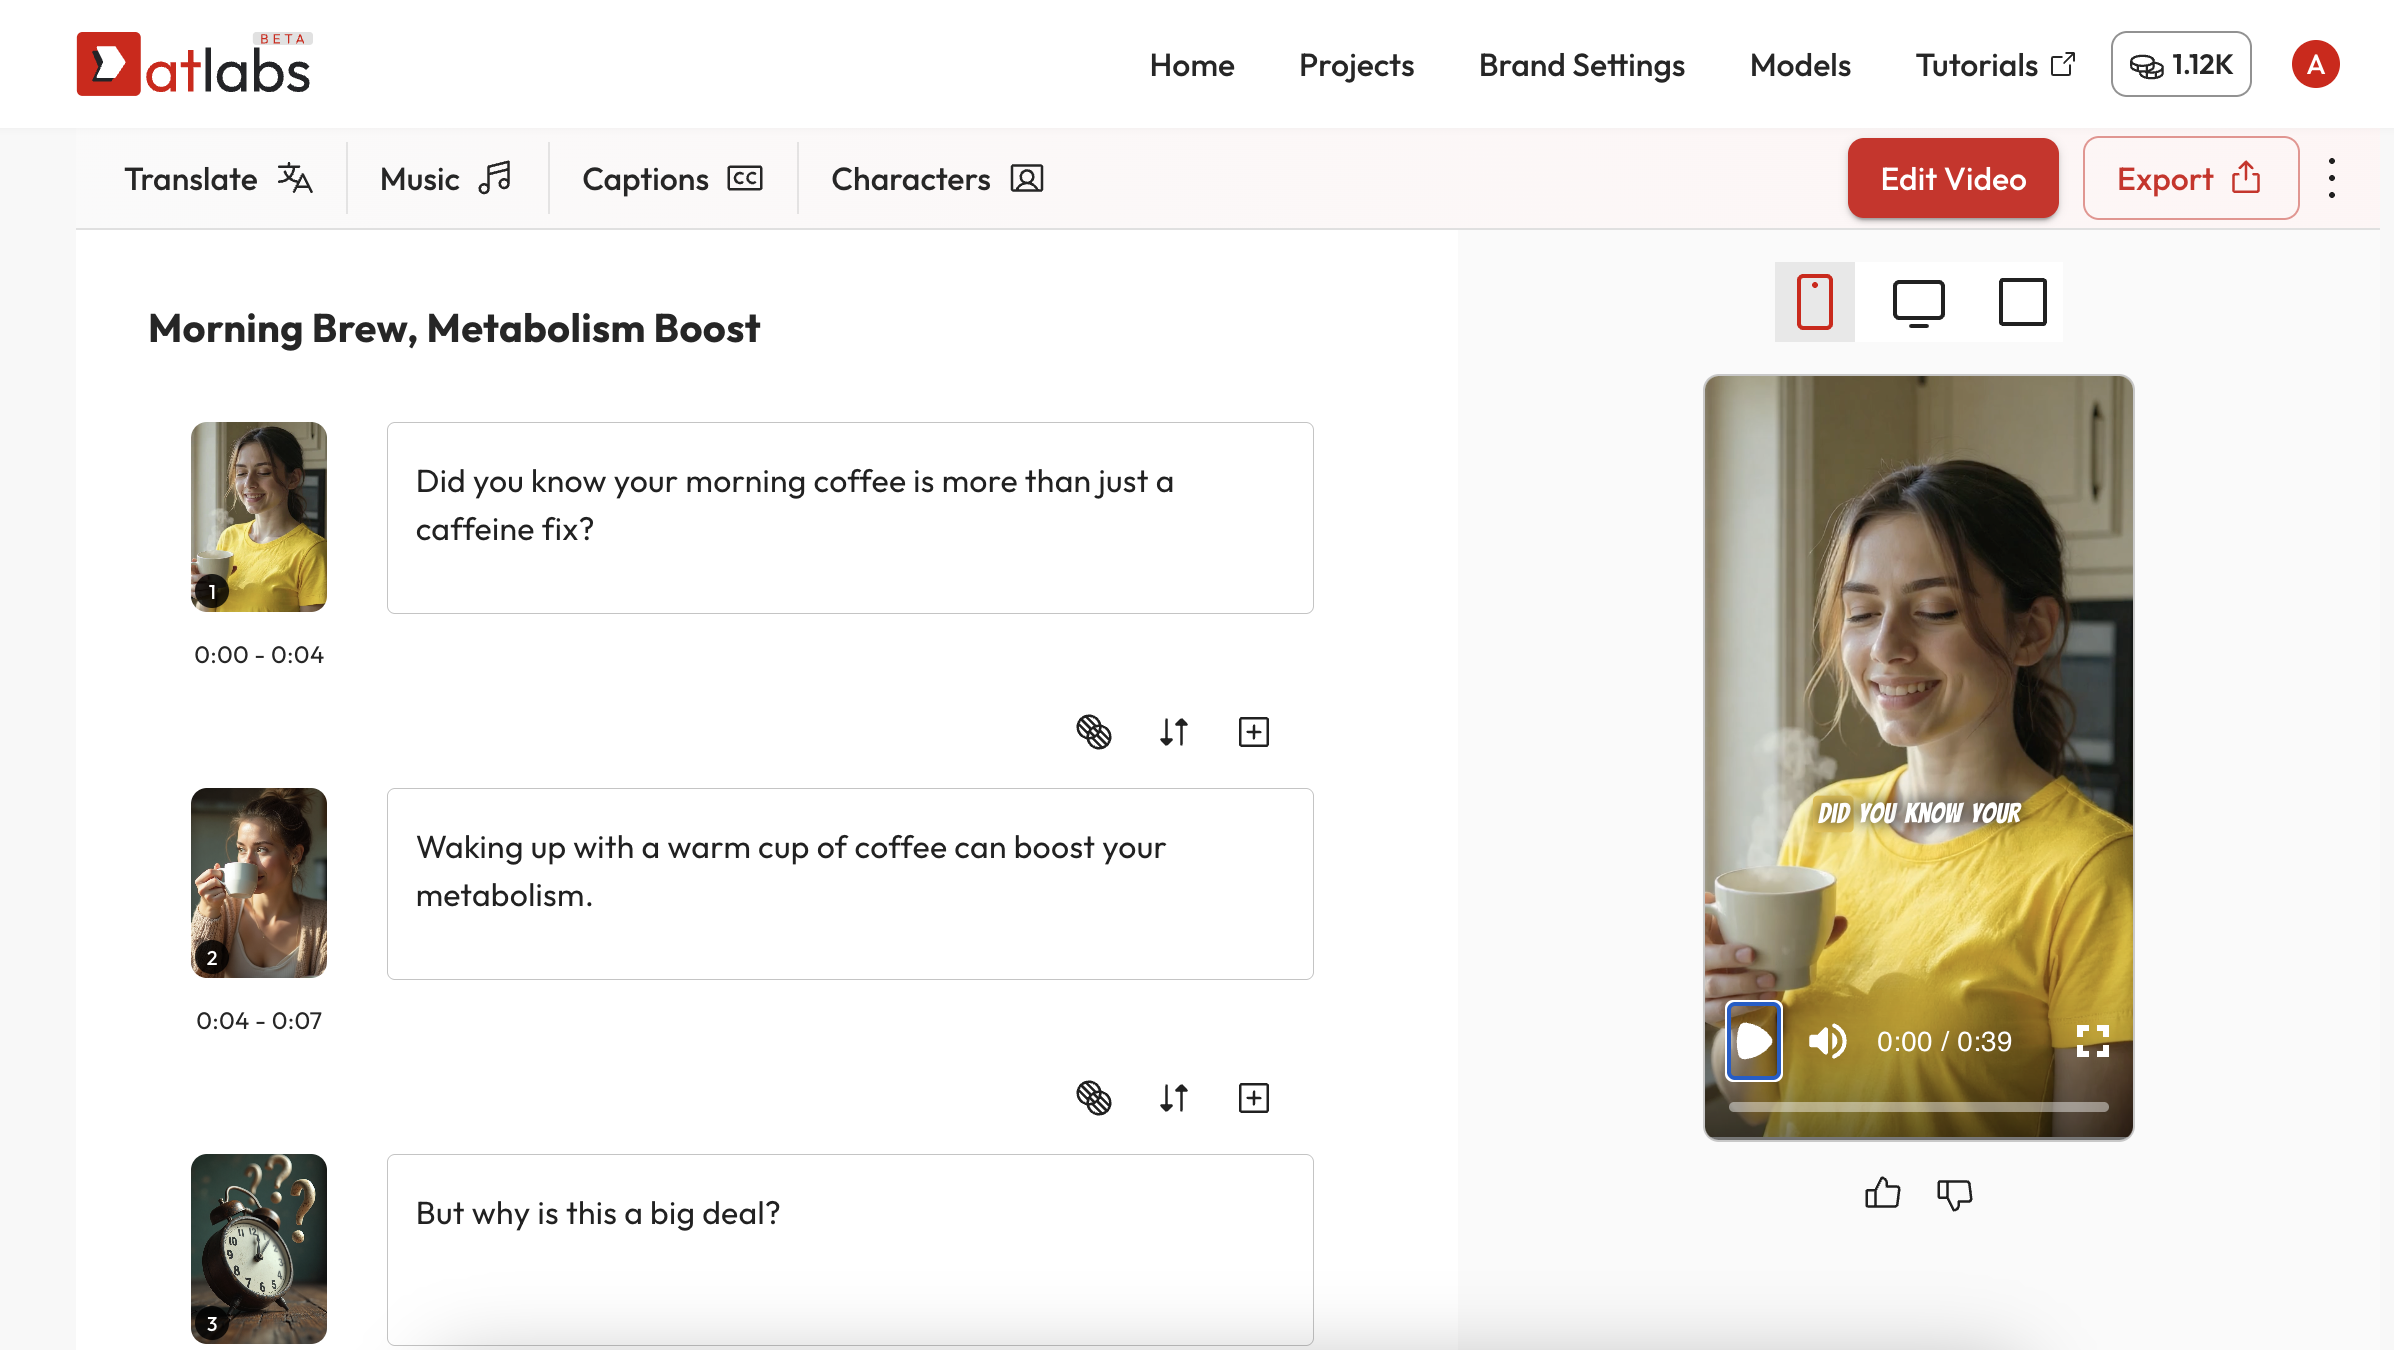
Step 3: Frame-by-Frame Editing
After the storyboard is generated, you can edit each scene from the left panel:- Replace visuals using stock, uploads, or AI generation
- Add or edit voiceovers
- Edit image details or regenerate
- Add B-Roll, captions, or split scenes
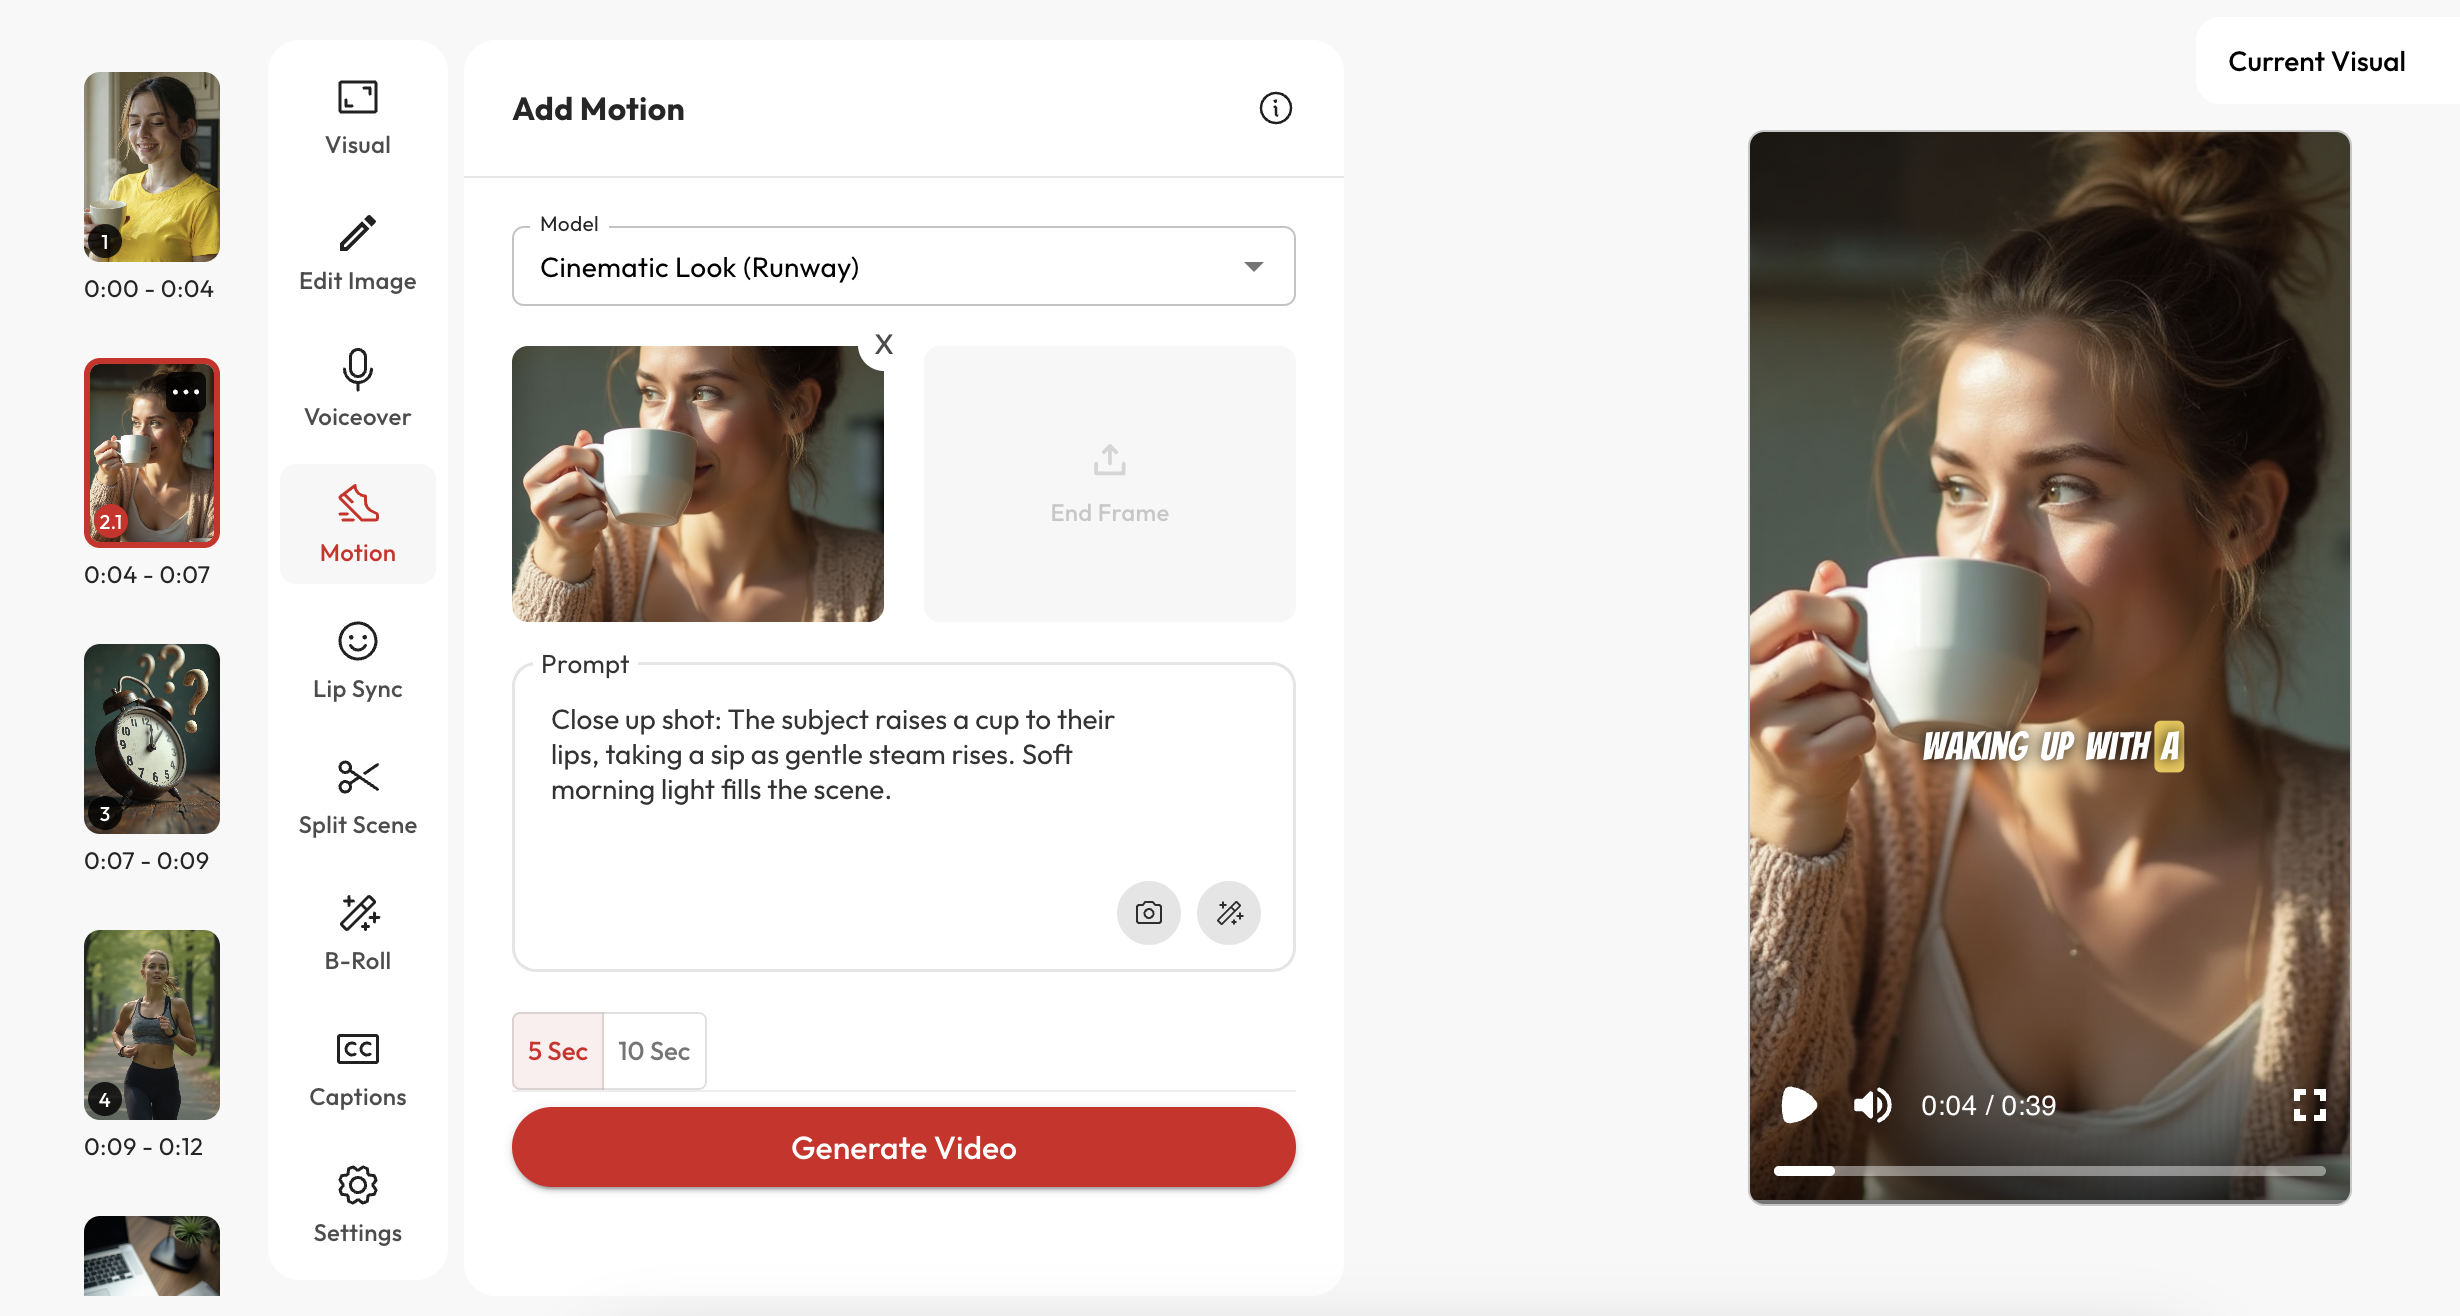
Step 4: Motion and Lip Sync
- Add cinematic motion to all the frames under the Motion tab. You have 10+ top tier AI models like Kling, Google Veo3, Runway, Minimax to choose from
- Select Lip Sync and apply it to any frame with a character model and voiceover
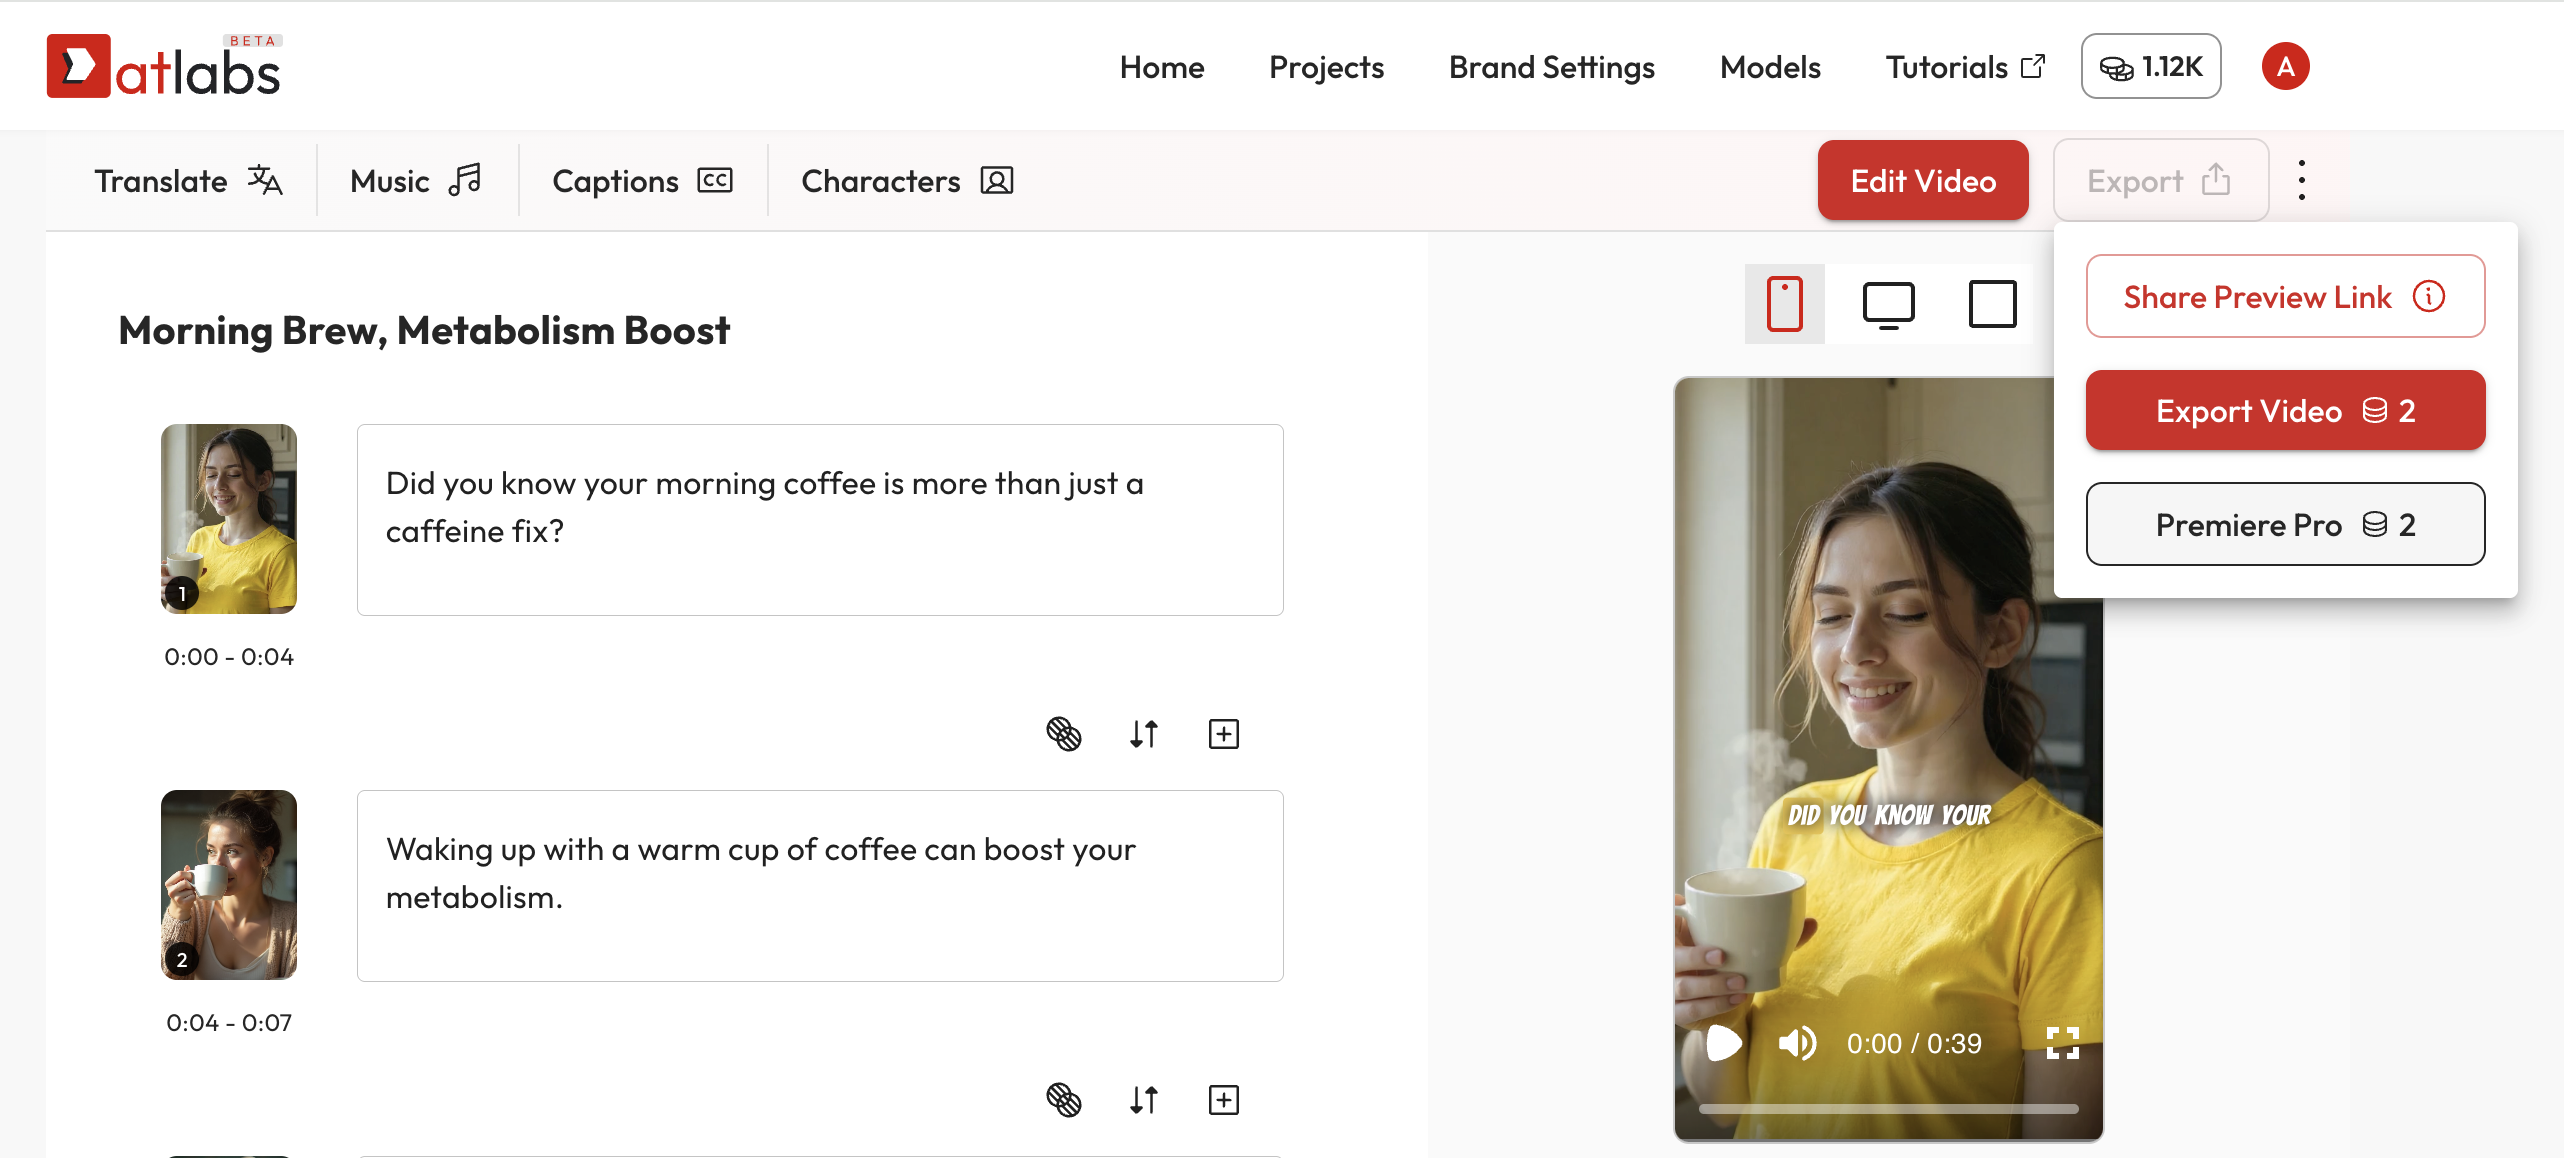
Step 5: Export and Post-Production
- Click “Export” to generate a high-quality MP4
- Or export a timeline-based XML to bring your project into Adobe Premiere Pro or other NLEs for advanced editing
More Tutorials
We’ve prepared detailed guides for each of these areas. Deep dive for advanced controls below:Write a Script
Learn how to generate a script with AI or upload your own screenplay
Create Visuals
Use AI to generate visuals with full narrative and character consistency
Add Audio
Choose voiceovers, music, or upload your own audio to bring your script to life
Add Motion
- Add cinematic motion to all the frames. Convert static frames to live action
Apply Lip Sync
Sync your character models to the voiceover with advanced AI lip sync tools
CUSTOMIZE VIDEO
Use AI Actors
Pick from ready-made AI characters or train your own to act in your video
Apply a Style Model
Change the overall look and aesthetic of your video using AI-trained styles
Choose AI Voice
Explore realistic voice libraries or create custom ones for your brand
Add AI Captions
Automatically generate captions in multiple languages or upload your own